
The Best Way To Fram Basement Walls
Framing your basement walls can be a tricky project for even skilled DIYers. There are many different situations and obstacles that make framing challenging. Floor construction and improvisation are therefore the key elements when designing basement walls.
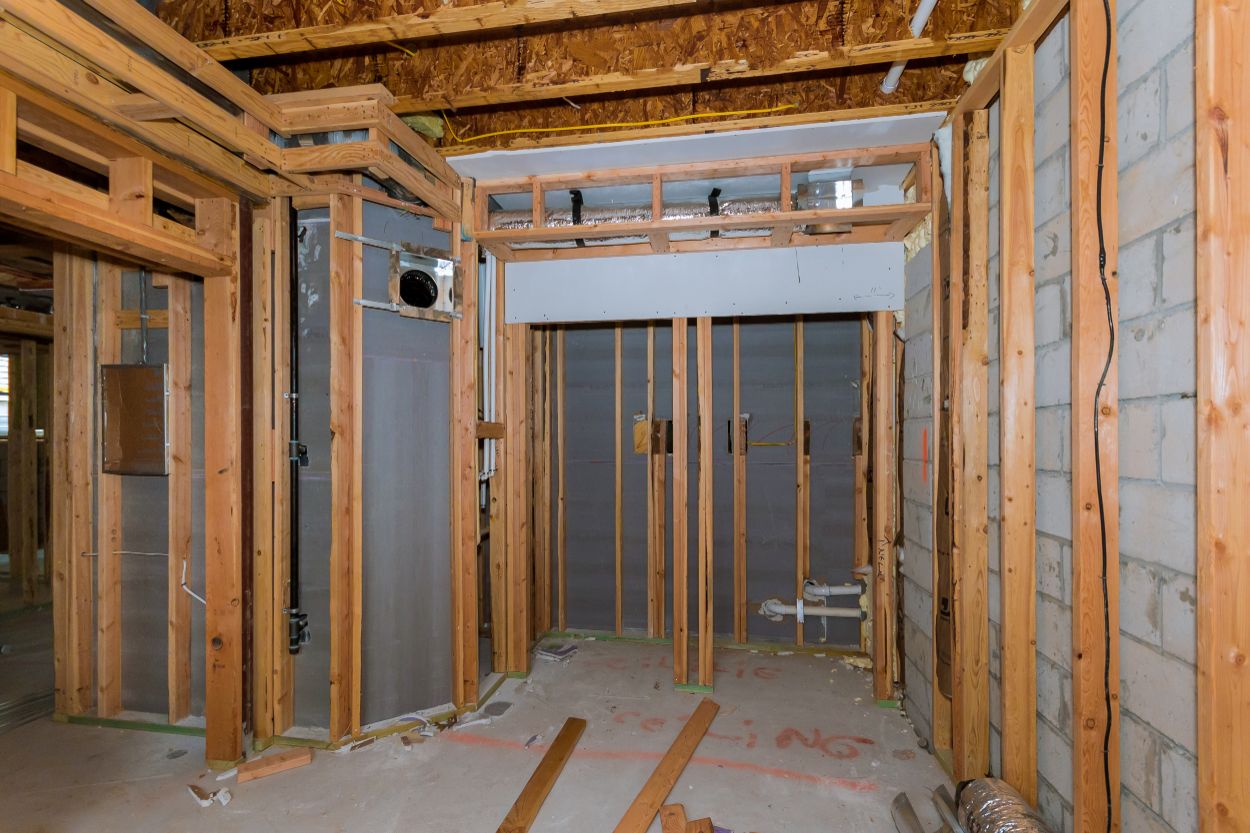
Enclosure wall frame
If you are planning a warm and inviting basement, the basement walls, like the interior walls, should be framed with a 2x4 construction. By using 2x4 posts around the perimeter of the basement walls, insulation can be installed to ensure a warmer comfortable room. If heat is not a priority and drywall is still required on the basement perimeter walls, perimeter wall siding can be installed instead. The skins are usually made of 2x2 that are glued and nailed to the concrete basement walls.
Inner wall frameconcrete walls
Interior walls can be built into the floor and then simply raised, but due to the inevitable height differences in the basement, the walls will need to be built a little shorter and then shimmed. Failure to do this can cause difficulties in lifting the wall as it could get caught between the basement floor and the ceiling / floor beam. Even if the house is built on clay soil, the basement floor can easily move up and down depending on the water content of the soil. This will require foundation repair work.
If the house is built on clay soil, consider using L-shaped steel trusses to attach it to the first story walls and joists. These clips allow the walls to breathe (go up and down) but provide the necessary support to keep the wall vertical.
When building basement walls, there are usually a lot of obstacles (pipes, gutters) to build around. As a result, it is sometimes easier to glue building walls around these types of obstacles.
Bar construction frame
To glue construction walls, first nail a top plate perpendicular to the floor joists. Next, lay a floor slab on the concrete floor with concrete nails and an adhesive like Liquid Nails. Be sure to use pressure-treated lumber for the floor slab as it will come into contact with the concrete and absorb moisture over time. The top and bottom panels must be parallel to each other. Use a plumb bob to make sure they are parallel. Finally, install 2 'x 4 "studs every 16" along the panels. Be sure to measure for each stud before cutting, as distances will vary from floor to ceiling.
Boxing in ductwork
Ceiling may be required when sinking pipes or installing interior lighting. Reveals are not structural and therefore can be framed with 2 "x2". As with any wall frame, use two parallel 2 "x 2" panels and connect them with vertical studs. Attach a 2 "x 2" top plate to the floor joist, then drive a nail into a 2 "x 2" stud at each end of the top plate. Next, nail the bottom plate to the two studs to create the base wall. Finally, install 2 "x2" bolts at 16 "centers along the panels. While you wait for the situation, you may need to build the same frame structure on the other side of the ducts. You have finished the second wall of development, simply install 2 "x 2" locking bolts (manholes) between the two sections of the reveal wall. Make sure to use a chalk line and level it. This task ensures that the reveal walls remain straights while building reveal, measure each bolt before doing this you cut it off.
Framing the ceiling
If drywall is to be installed on the ceiling, you may need to add a horizontal wall effectively. Basically the same process as construction panels, but using 2 "x4" to create space for pipes hanging under floor joists. If there are no pipes or cables hanging under the floor joists, 1 'x 3' 'strapping can be used. Simply nail them on 16-inch centers perpendicular to the floor joists.
For more help finishing your basement, you might want to consult with a professional or a friend, neighbor or family member who knows what they are doing.